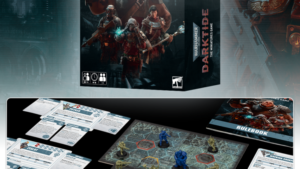


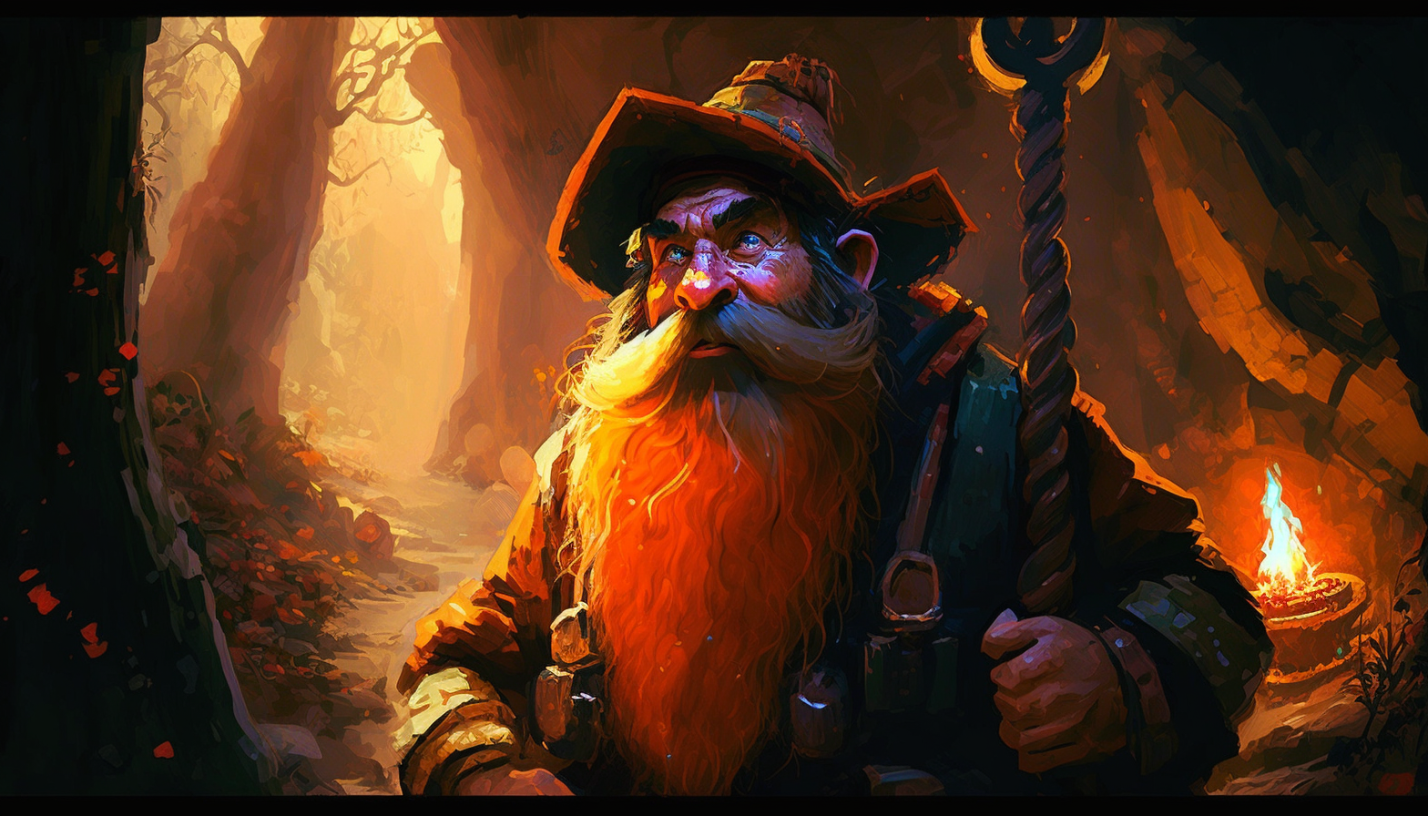
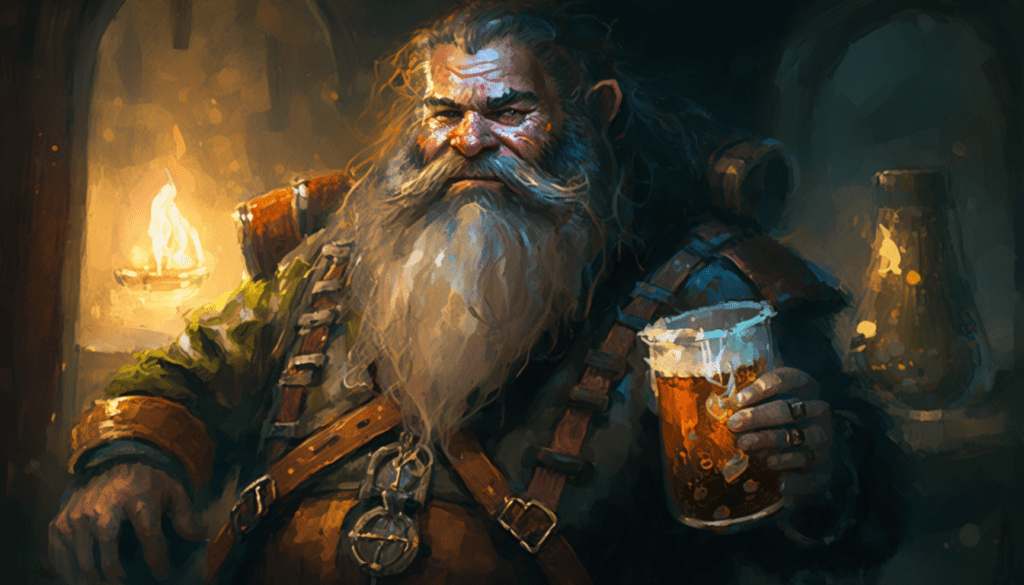
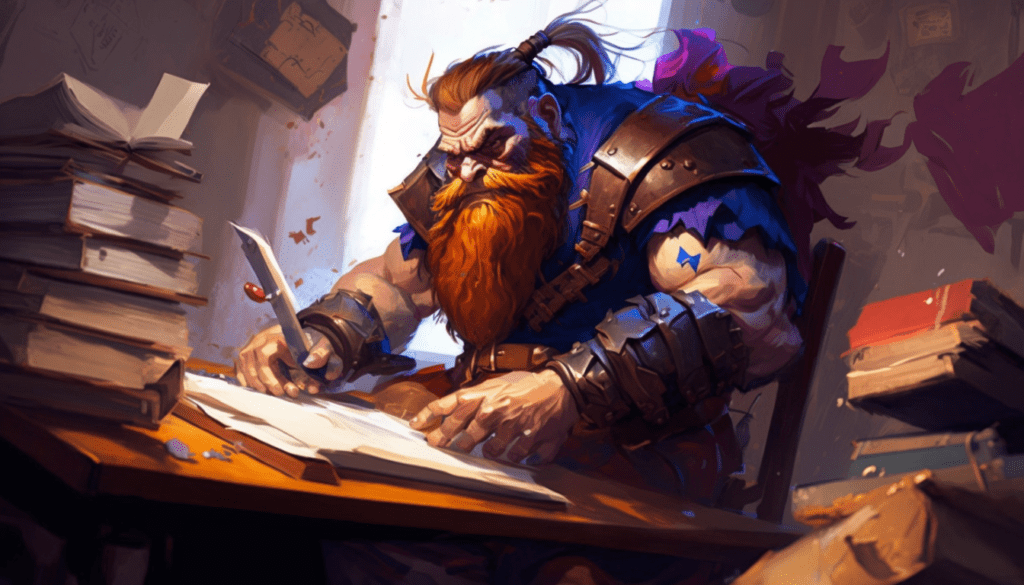
The Beginners Guide to Dwarf Fortress
Congratulations! You’ve made it through the tutorial, but your journey into the depths of Dwarf Fortress is far from over. With many buttons to push and intricate systems to uncover, it’s easy to feel overwhelmed. But don’t worry, I’m here to give you some advice that will help ease you into this world of wonder.
As a beginner, one of the most important things to remember is to take your time and be patient with yourself. Don’t blame your dwarves if things go south, they’re doing their best. Instead, focus on expanding your knowledge and taking things one step at a time.

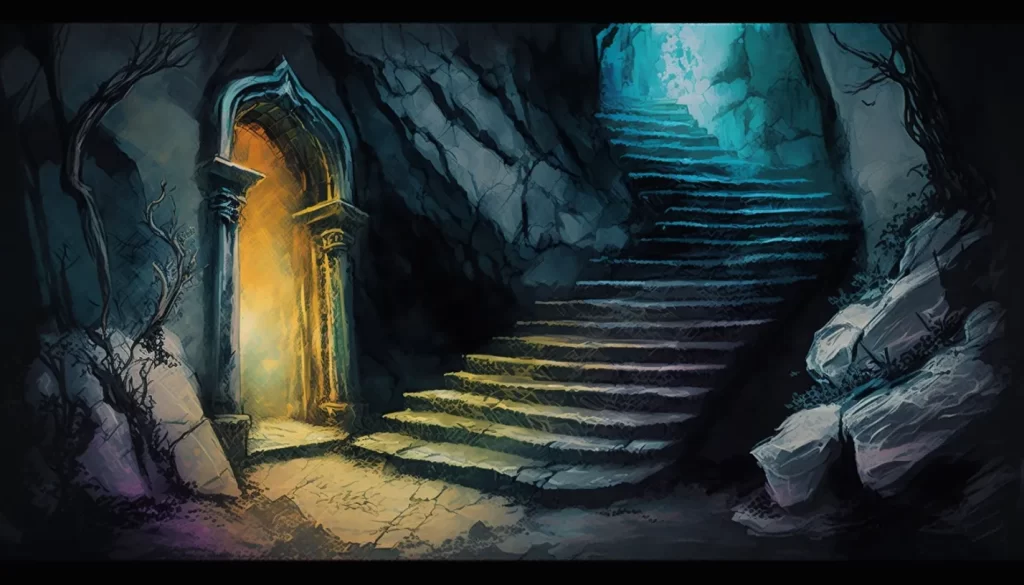
Now, onto the nitty-gritty. The key to a successful fort lies in digging deeper. When starting out, build your base in the first few layers of pure stone. This will provide a solid foundation for your fortress and make it easier to defend against potential threats.
It’s worth noting that Dwarf Fortress operates on a frame-by-frame basis, meaning that the simulation is synced to your computer’s frames-per-second (FPS). If things start moving too quickly for you, consider adjusting the run speed to 60 FPS or lower in the settings. This will give you more time to react and make decisions, especially during the game’s early stages.
Tiles
If you want to make it far in Dwarf Fortress, you need to grasp the fundamental concept of how tiles are structured. Essentially, a tile comprises two elements: the block and the floor. When you mine a tile, you remove the block, but leave the floor intact. On the other hand, channeling a tile means removing both the block and the floor or just the floor, if the block was already gone. Channeling creates a ramp on the floor below, and it may be challenging to visualize how this works across multiple levels, but don’t worry, you’ll soon get the hang of it.
Dwarven Movement
Let’s get down to business and talk about Dwarven ergonomics, shall we? To start, units in Dwarf Fortress move across tiles at different speeds based on their species and other factors. They’re able to move diagonally and even shimmy through tight spaces between filled tiles. But if you want to keep something locked down, you’ll need a perfectly boxed-in area made of natural or constructed walls. Locked doors won’t keep out stronger creatures like trolls, who can easily bash their way through.
For a dwarf, one tile is one tile, whether it’s flat ground, stairs, or a ramp. And if other creatures get in their way, they’ll slow down significantly. That’s why many experienced players design their fortress with 2-3 tile-wide hallways and 2×2 block staircases. Some even opt for a central 3×3 spine staircase as the main feature of their fortress.
Now, let’s talk about the importance of verticality in Dwarf Fortress. Staircases are key to designing a successful underground base. Two rooms or hallways connected by a staircase are effectively adjacent, with no tiles between them. That means a stockpile of metal beneath your blacksmiths can be just as useful as one beside them. Dwarves are content to have living and eating quarters above or below their workspaces. So, if you’re looking to build a thriving fortress, incorporate stairs into your plans.
Food and Drink
When you first start your Dwarf Fortress adventure, your initial crew can survive for a decent amount of time by hunting, fishing, and foraging for wild plants. Plus, you can convert these wild crops into booze by using the Still you built during the tutorial. Booze is an essential element of your dwarves’ diet. Technically, they can drink water, but it’ll quickly put them in a foul mood, and that’s not good for anyone.
Once you’re ready to start farming, it’s relatively easy. All you need to do is build a Farm Plot under the Build-Workshops-Farming option, and you can place it on any soil. You don’t need to make massive farms either; even a small plot of 2×2 or 4×4 can feed many dwarves. Dwarven farms are impressively productive, so growing even a few Plump Helmets on a small, unfertilized plot can feed your entire clan.
Plump Helmet Booze
When you start out, you’ll want to go into the Kitchen labor menu, and turn off using plump helmets for food. If you use them for drinks, it becomes a sustainable supply.
If you want to grow proper dwarven crops underground, you’ll need an area with a soil floor. Depending on the biome, it can be silt, sand, loam, clay, or mud. While this soil is easily accessible in the first few z-levels below ground, it is much harder in other layers. If you can’t find soil, you’ll need to use dwarven irrigation by creating wooden buckets at the carpenter’s shop, digging a hole with the Channel option, and then labeling it as a Pond in the zones menu. Make sure it’s not more than 2/7 full of water, and you’ll get a healthy coating of fertile mud.
To keep your dwarves well-fed, you’ll need a kitchen. Your dwarves usually eat a few meals per season, so set up a recurring order of Fine Meals using the Work Orders menu. Aim for around five or six times the number of dwarves you have. This will use three food units and provide a decent variety of food to keep your dwarves satisfied. Don’t worry about anything too fancy for now.
If you’re running low on booze, go to the Labor menu, and then the Kitchen tab. Turn off the option to let your dwarves use booze for cooking. You can also disable using seeds to cook, except for some like almonds or walnuts.
Meeting Areas
Another essential element in Dwarf Fortress is the Meeting Area. Depending on how you furnish it, a Meeting Area can transform into a meeting hall, a statuary garden, a zoo, a museum, or even a memorial to the fallen. It’s where idle dwarves and pets gather, so creating one underground will ensure they stay out of harm’s way.
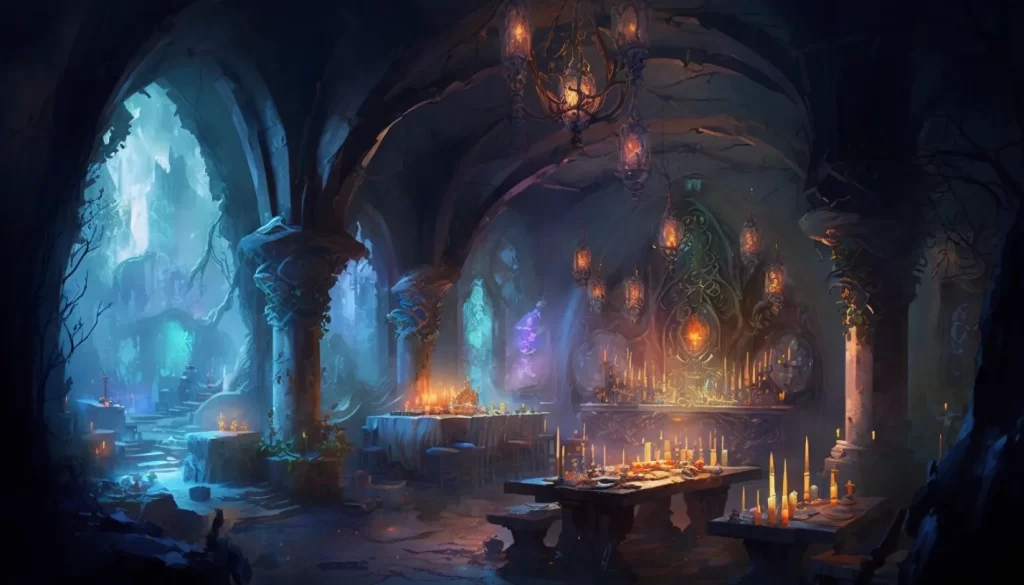
As your fortress grows, you’ll need to create more structures like a Hospital, Temple, Guildhall, Tavern, or similar building. To do this, you can take a Meeting Hall and click the Shield-Shaped button to add it to one of these structures. Each of these rooms works together and can be made using the Meeting Hall as a starting point. For example, taverns will need extra rooms for visitors and long-term residents to sleep in, while a hospital can be a single large room of beds, chests, and other essentials. Just remember to provide fresh water in the hospital, as dwarves will drink it when sick or use it to clean their wounds. And be sure to leave enough space for dancing in the tavern or temple, at least a 5×5 area.
Meeting Areas and Happiness
One thing to remember when playing Dwarf Fortress is that dwarves love their food and drink. Creating a well-decorated dining hall with some tables, chairs, and smoothed stone walls is a must. Designate it as a Dining Hall using the zones menu, and it will soon become the center of your fortress. Having a storage area next to the dining hall customized to accept only Prepared Meals and Drinks is an excellent idea to keep everything organized.
Bedrooms and Dormitories
Let’s talk about designing the perfect bedroom, shall we? You might be surprised to learn that bigger isn’t always better for our dwarven friends. In fact, most dwarves are more than content with a simple one-tile chamber that’s just big enough to house their bed. As someone who cares deeply about the well-being of my dwarven companions, I’ve found that a 2×2 room is the perfect compromise. It’s spacious enough to add a few personal touches, like a cabinet or a statue, without going overboard. Leave the extravagant bedrooms to the fancy-pants nobility and officials, we’ll get to them later.
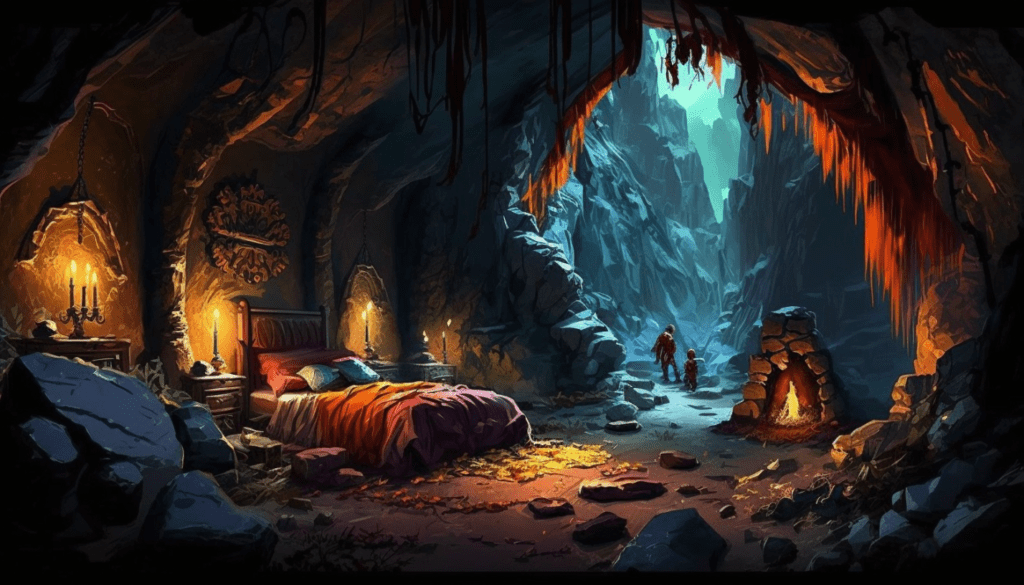
A dormitory is a great temporary solution if you’re in a pinch. It’s just one big room filled with beds, perfect for housing a lot of dwarves in a pinch. But make sure you’re not skimping on privacy, it’s only polite to give the room some doors.
Dwarves might not be the tidiest creatures, but they sure do know how to sleep like a rock. They won’t be disturbed as long as no mining or other loud noise is happening nearby. So don’t worry about connecting bedrooms to one another, it won’t bother them one bit. And here’s a little tip for all you vertical thinkers out there: stacking bedrooms around a central staircase can make them much more accessible and efficient than long, winding hallways. Some players even go so far as to construct intricate fractal hives or windmill patterns, but that’s a whole other level of optimization.
Offices, Managers and Bookkeepers
Offices allow assigned Nobles and Administrators to do their work. Two super critical administrators that you want to assign early are a Manager and a Book Keeper.
The manager allows you to assign work orders in bulk from the labor menu, rather than adding jobs one at a time. For example, you’ll be setting up your bedrooms, and it’s much easier to simply make a work order for 20 beds than to assign them to be built one at a time.
What’s more, you can add conditional logic to your work orders. For example, you can have your dwarves cook meals whenever your total available food count drops below a certain threshold.
The Manager is one of the most important administrators in the game.
Keeping track of your fortress’s goods is essential for smooth operations. Before hiring a bookkeeper, you’ll only have estimates to work with. But, with a bookkeeper, you’ll have a definitive inventory tally. Think of them as the gatekeeper of your supply chain. Without one, you’ll be guessing and risking shortages. So go ahead and add a bookkeeper to your team – you’ll be glad you did.
The menu will help you choose the best candidates for your roles.
Building an office is a straightforward task. It simply needs to be a room large enough for a chair, though I also recommend including a table, and cabinet, and make sure you assign the room to be an office, and then assign a dwarf to that office. While a basic office will suffice for these rookies, they’ll appreciate something more luxurious as they ascend in status.
Now, let’s talk about the real meat of the game. The work management features are a game-changer! The fine-tuning options available here will astound you. Take some time to familiarize yourself with the Work Orders on the clipboard. Once you’re comfortable, you can start placing orders. Want 20 matching chairs? No problem. Your workshops will get right to work.
Labor Menu
The key to maximizing the potential of your dwarves is by setting up your Labor menu, which can be found by clicking the hammer button in the bottom left of your screen. This will allow you to assign specific jobs to specific dwarves based on their skills and experience.
It’s important to remember that each dwarf has their own unique set of skills that they can gain experience in over time. This means that a highly skilled Legendary Weaponsmith will be able to produce weapons of much higher quality than a novice. To take advantage of this, you can create custom work details for your dwarves, allowing you to assign specific jobs to specific groups of highly skilled dwarves. This can greatly impact the quality and value of the goods your fortress produces.
It’s important to remember that each dwarf has their own unique set of skills that they can gain experience in over time. This means that a highly skilled Legendary Weaponsmith will be able to produce weapons of much higher quality than a novice.
When setting up your Labor menu, starting with some basic work groups such as Carpenter, Blacksmith, Mason, Chef, and Brewer is a good idea. These will ensure that there’s always a specialist available to take care of the most important tasks. But don’t be afraid to experiment and create your own custom work details as your fortress grows and your dwarves gain more experience. With a little creativity and careful planning, your fortress will be thriving in no time.
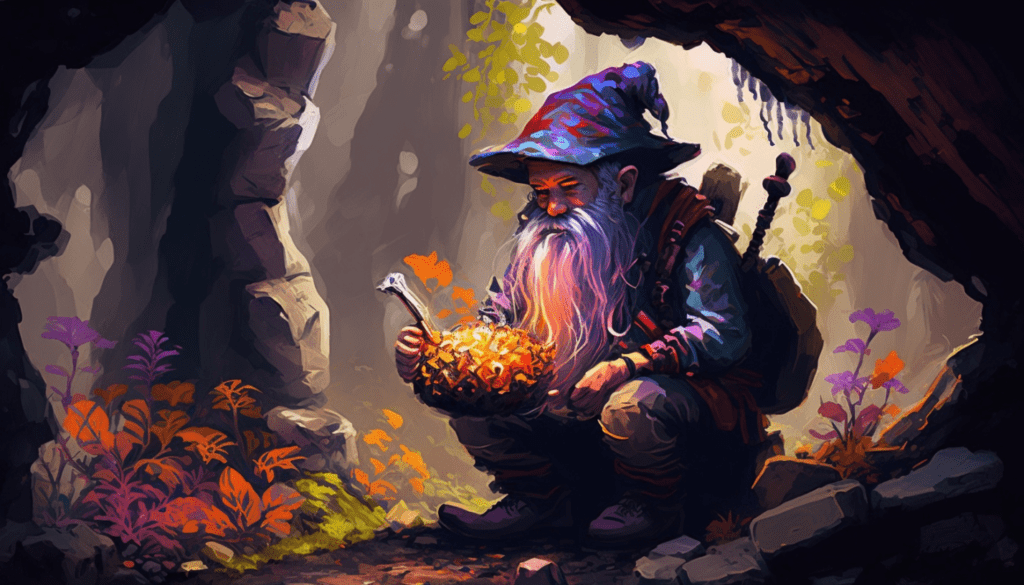
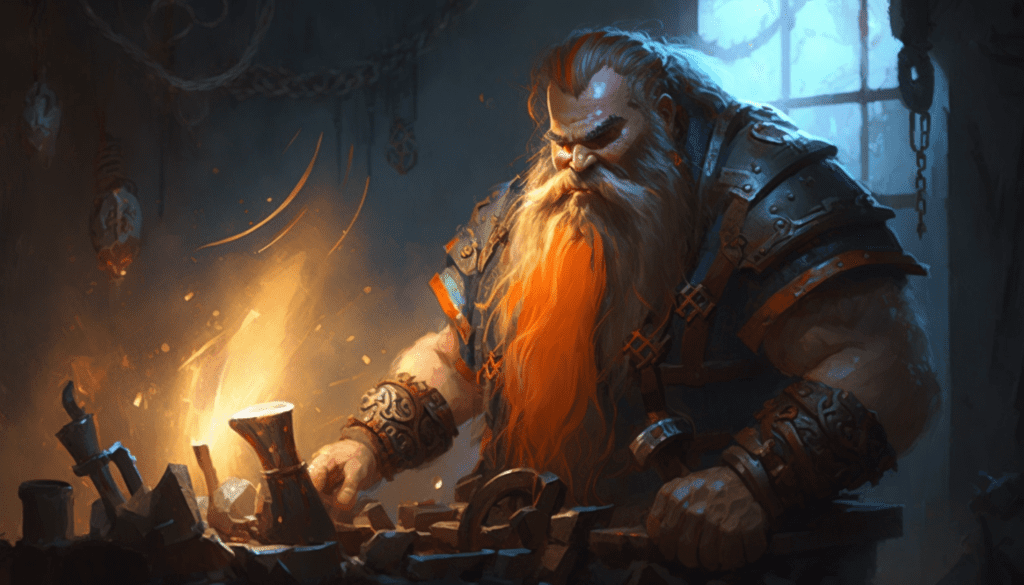
Crafting
To start making metal, you’ll need a Wood Kiln, a Smelter, and a Metalsmith’s Forge. Burn some trees you’ve chopped down at the Wood Kiln to create charcoal. Head over to the Smelter and instruct your dwarves to either make bars from ore or smelt a specific type of ore by name. Finally, use the metalsmith’s forge to select what you want to create and use the spyglass symbol next to the order to specify the metal you want to use. Voila, you’ve got yourself some metal.
Wondering where to find ore? You’ll need to go digging, my friend. Typically, you’ll find ore underground in layers of sedimentary or igneous rocks, such as siltstone, dolomite, chert, shale, basalt, and rhyolite. In Dwarf Fortress, mining mimics real-world mineralogy, so you’ll be learning a thing or two about geology along the way. And trust me, you’ll need all the help you can get as you delve deeper into the game.
You’ll quickly discover that your dwarves are disgusting, filthy creatures. Soap is vital to their happiness and health.
Now, let’s talk about soap. You’ll quickly discover that your dwarves are disgusting, filthy creatures. But don’t worry, you can fix that. First, you’ll need to find a source of fresh water and then make some soap. To do this, you’ll need a Wood Furnace to produce ash, a Kitchen to turn animal fat into tallow, an Ashery to turn ash into lye, and a Soap Maker’s workshop. It may seem absurd, but clean water and soap are vital to keeping your dwarves healthy and happy. Plus, doctors need soap to clean wounds. Trust me, you don’t want to lose your best armorer because of an infected scratch caused by a dirty sock.
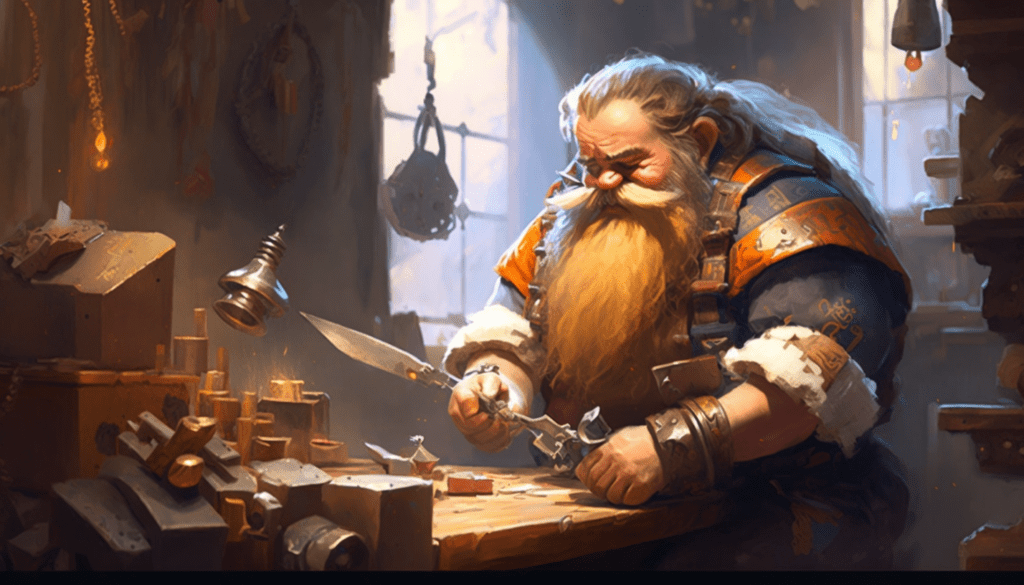
Crafting Quality
Have you ever wondered what those little symbols around the names of items in Dwarf Fortress mean? Well, wonder no more! Those symbols indicate the item’s quality and play a significant role in the game. Better quality items have improved stats, are worth more, and make your dwarves happier.
So, what do the symbols mean? Normal-quality items have no symbol, just a plain name. But, the quality scale starts with “Well-crafted” (-), then moves up to “Finely-crafted” (+), “Superior Quality” (*), “Exceptional” (≡), “Masterful” (☼), and the highest level of quality is a named artifact, which comes from strange moods.
Speaking of strange moods, when a dwarf experiences one, they’ll attempt to claim a crafting workshop and make an object they’ve seen in a vision. This object will be of the highest quality and will have a unique name. If you’re lucky enough to have a dwarf experience a strange mood, make sure you give them what they need to create their masterpiece, or things could turn ugly.
Sometimes, you’ll also see double angle-brackets «decorating» an item name, which means the item has been adorned with something like gems, shells, or horn. Another set of symbols outside those brackets shows the decorations’ quality.
If you want to see an item’s quality-related information, use the spyglass in the item’s panel to get a physical description. With this information, you can make sure your fortress is stocked with high-quality goods, which will make your dwarves happy and improve their quality of life.
Taking out the Trash
Now that you’ve learned how to keep your dwarves clean, it’s time to take out the trash. Seriously, it’s essential. Designate an outdoor stockpile for refuse and place a Dumping zone over it. Then, under the Standing Orders tab in the Labor menu, tell your dwarves to dump “other” things. This way, they’ll dispose of all their old dirty socks, discarded food trash, and even teeth knocked out in bar brawls.
Garbage in designated stockpiles will deteriorate and rot away faster, especially outdoors, improving the game simulation’s overall health. And, if you’re lucky enough to embark on a volcano, create a shaft with a Dump designation over it to toss trash directly into magma for instant disposal.
You’ll want to keep the corpses and garbage out of your fortress, tust me. If you don’t you’ll find your place overrun with ‘miasma’ which makes your dwarfs sick and extremely unhappy.
Trade Depot
If you want to keep your fortress thriving, it’s crucial to have a stone trade depot that’s easily accessible by a 3×3 wagon. You can build it outside, in a sheltered cliffside cave, or even underground with a fancy garage-style ramp. However, make sure it’s made of stone, as if it burns down while filled with traders and goods, it will be an experience in the Dwarf Fortress motto of “losing is fun!”
Traders are the lifeblood of your fortress. Even if you’re only churning out low-quality bone crafts, they will allow you to purchase vital supplies like food, booze, and finished goods. You can expect a dwarven caravan from the mountainhomes every fall, before winter sets in, but elves might visit in the spring, and humans might come in the summer. Keep in mind that human clothes, weapons, and armor are too big for dwarves to wear.
Elves and Trade
The dwarf caravan is unique because the liaison from the Mountainhomes will keep track of your progress with the bosses back home. Every time they visit, they’ll record your outpost’s overall wealth and send it back, which affects how many new dwarves will show up in waves of migration. This is how you advance your fort, adding new titles of nobility as you go. Keep your trade game strong, and your fortress will grow and flourish.
Attracting Visitors
Visitors are a great way to improve your fortress. You can attract all sorts of visitors from bards to traders. They can help your fortress in many ways.
- Diplomat: Diplomats will arrive at your fortress to engage in diplomatic talks. An alert will appear in the top right to notify you. After the discussion, they may stay to enjoy any services your fortress is providing.
- Performer: Performers will entertain visitors by playing their instruments or reciting poetry. They will perform for free and can often be found in taverns.
- Scholar: Scholars will head to your library to read written works and study. If writing materials are available, they may even write their own books. They may take some of your library’s books with them but also leave new ones.
- Religious: Prophets, monks, and pilgrims may visit your fortress to pray at your temple. They will come seeking a religious experience and may stay for a while.
- Warrior: Warriors will come to relax in your fortress’s tavern. They will be equipped with quality gear, so be careful not to start anything with them.
- Mercenary: Mercenaries will also come to relax in the taverns. However, they may also want to enlist in your military.
- Monster Slayer and Beast Hunter: If you discover a cavern, these visitors may show up. They will want to stay to slaughter beasts, whether in caverns or above ground.
Attracting visitors in Dwarf Fortress is not a simple task, but with the right meeting spaces and attractions, it is possible. Creating a meeting zone and then specializing it towards a specific area allows you to draw in visitors from all over. But, be warned, you must first meet the requirements of each specialized zone to reap its benefits.
Attracting visitors in Dwarf Fortress is not a simple task, but with the right meeting spaces and attractions, it is possible.
To establish a specialized zone, click on the meeting area and then the plus symbol and wooden sign. This will take you to a separate menu where you can select from a range of zones, including taverns, guildhalls, and temples. Each zone has its own unique appeal to visitors.
However, it’s not as simple as just setting up a zone and waiting for visitors to arrive. You must meet the requirements and ensure that the zone is running properly. For instance, if you want to set up a hospital zone, you need tables, medical supplies, and doctors. By meeting these requirements, you can attract people in need of medical services.

You can open a more detailed menu to prepare and assign the elements of a specialized zone. This will allow you to fine-tune the zone and ensure it runs at its best. With the right approach, you can attract visitors from all over and make your fortress a bustling hub of activity.
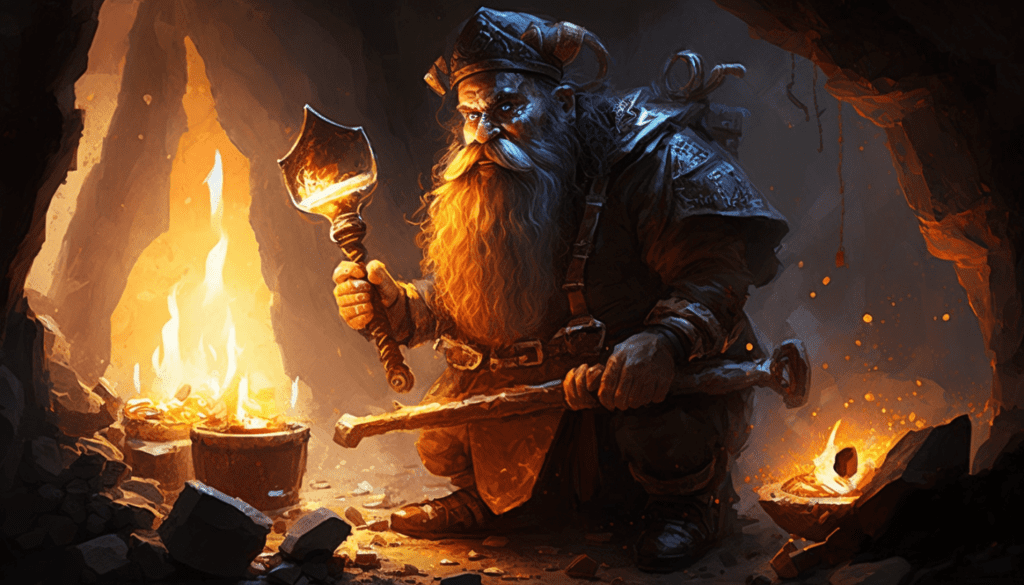
Deep Rock Mining
While stones may seem like the building blocks of your fortress, you’ll soon realize that metal is the key to success. Whether it’s enhancing your equipment, exporting goods, or crafting weapons to fend off threats, metal is an essential resource for any burgeoning civilization. As you delve deeper into the underground caverns, you’ll stumble upon various rocks carrying rare gems, valuable coal, iron, or even precious silver. To make the most of these discoveries, mark the ore you want to extract and let your miners work their magic with the auto-mining function.

To take your fortress to new heights, steel is the holy grail of metalworking. However, creating this durable material requires some know-how and essential resources: coal, iron, and Flux Stone. With a smelting furnace at your disposal, you can turn these raw materials into gleaming steel that will help your dwarves thrive. As long as the flow of metal continues, your civilization will prosper for years to come.
It’s not just about hoarding metal for the sake of it – it’s about using this precious resource to secure your future. With weapons made of steel, your fortress will be a force to be reckoned with. But more importantly, you’ll be able to defend your people against any foe threatening your way of life. So dig deep, mine strategically, and create the steel that will safeguard your civilization for future generations.
Losing is Fun
The motto of Dwarf Fortress is “Losing is Fun.” It’s not meant to be a game to be conquered. Instead it’s a game of exploration, discovery, wonder, and yes – losing.
The objective is not just to succeed, but also to fail in imaginative and inventive ways. Don’t be discouraged by the sight of your fortress crumbling before your eyes, as it’s all part of the fun. Each fortress represents an opportunity to gain new insights, whether it’s discovering what you should have done earlier, realizing what you should avoid doing, or figuring out how to prepare better for the next time.

The chaos and complexity is a lot to take in, but I hope this guide can get you going.